Getting Started with NiceGit
Follow these steps to get up and running with NiceGit:
Step 1: Install the NiceGit Desktop app
Download and install NiceGit here
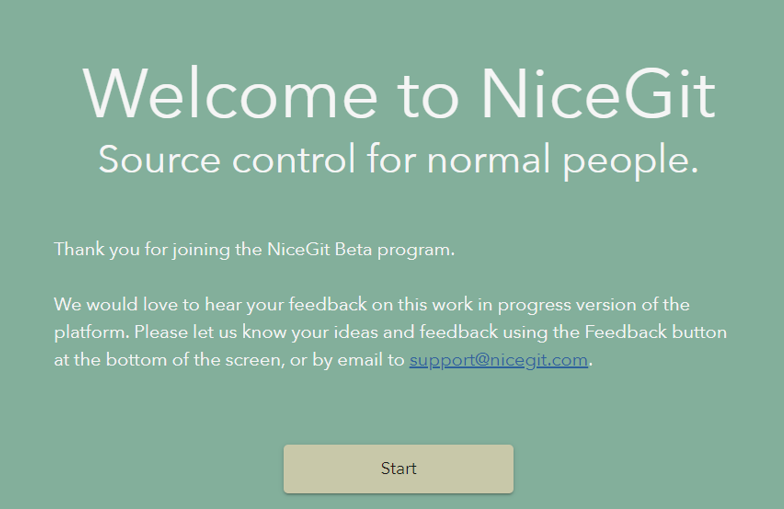
Step 2: Open NiceGit
After installation, launch NiceGit on your device
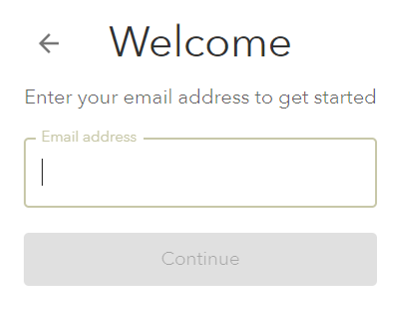
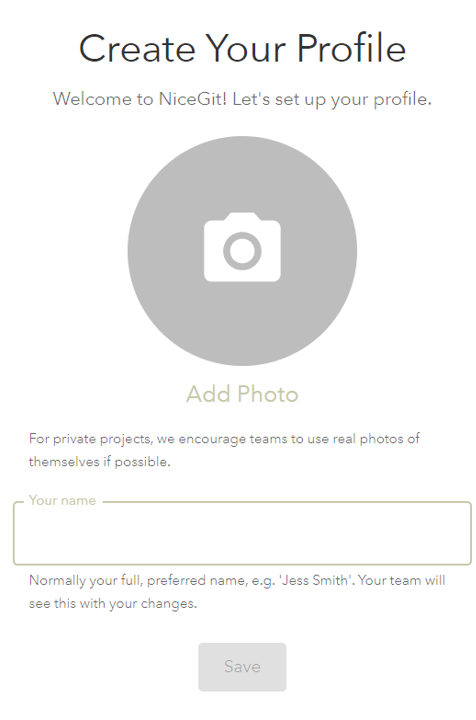
Step 3: Create your account
Enter your email address, set a password, and create your profile.
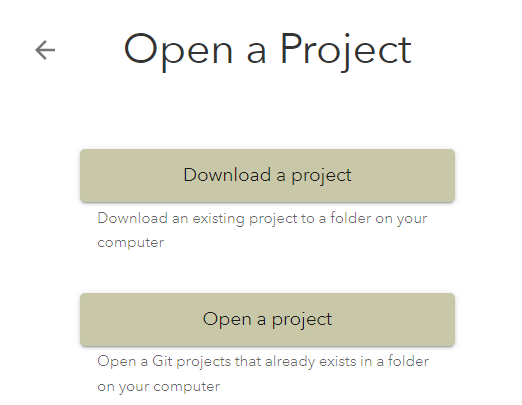
Step 4: Open a project
Open an existing Git project from your computer or download one to get started.
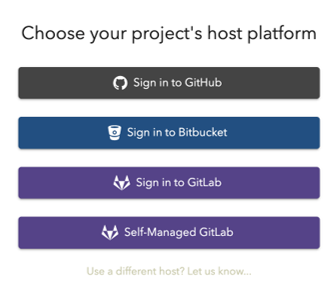
Step 5: Connect your hosting account
Sign in to your Git hosting provider such as GitHub, GitLab, or Bitbucket.
Step 6: Start using NiceGit!
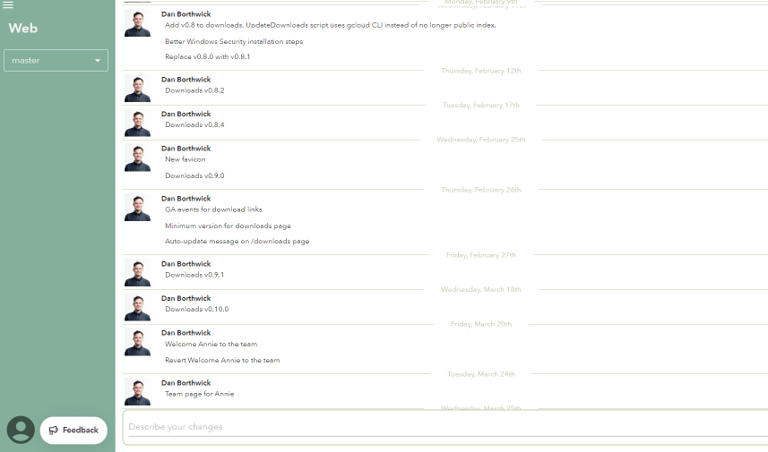
You can now access your project in NiceGit, make changes, and view the full history in a simple, easy-to-understand way.
You’re all set. Try making your first change and syncing your project.
Problems?
If you encounter any issues during installation, please let us know by either:
- Using the Feedback button within the NiceGit app
- emailing our support team with:
- The email address associated with your NiceGit account
- A description of the problem
- The error message you’re seeing, if applicable