Installing NiceGit
NiceGit is available for macOS and Windows. Download the latest version from our downloads page.
macOS
Requirements
- macOS 12 (Monterey) or later
Installation Steps
- Download the latest macOS installer from /downloads
- Open the downloaded NiceGit-x.x.x-universal.dmg file
- Drag the NiceGit application to your Applications folder
- Launch NiceGit from your Applications folder
- Now use our [Getting Started Guide] to start using NiceGit!
Windows
Requirements
- Windows 10 or later (64-bit)
Installation Steps
- Download the latest Windows installer from /downloads
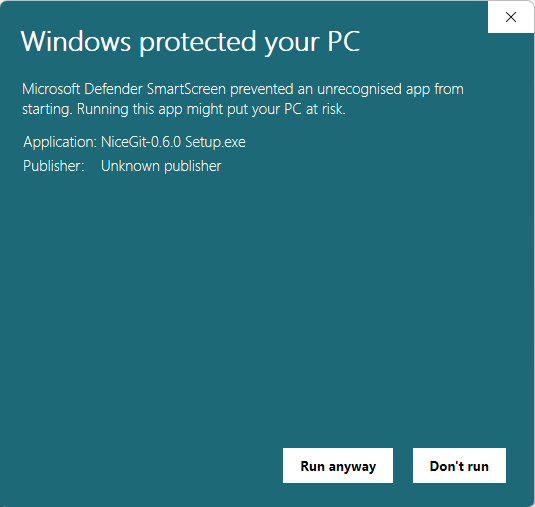
- Run the downloaded NiceGit-x.x.x Setup.exe file
- Follow the installation wizard prompts
- Launch NiceGit from the Start menu or desktop shortcut
- If no shortcuts are created, the app can be opened from c:\Users<username>\AppData\Local\nicegit\NiceGit.exe
- On opening the app, Windows Defender may show a security warning. Choose Run anyway. (If the Run anyway button is not visible, click More info… to reveal it)
- Now use our [Getting Started Guide] to start using NiceGit!
More informaion
To find out more about how to setup and use NiceGit for your team, see our documentation for:
Problems?
If you encounter any issues during installation, please let us know by either:
- Using the Feedback button within the NiceGit app
- emailing our support team with:
- The email address associated with your NiceGit account
- A description of the problem
- The error message you’re seeing, if applicable